OIDC with Authentik
Authentik is a full-featured open-source IdP with MFA, flows, and a sizeable audit/admin surface. Before starting, read the OIDC Setup overview, as it covers the RomM-side settings common to every provider.
1. Prerequisites
Authentik installed and running via their install guide.
Log in as admin and open Admin Interface.

2. Create a property mapping (Authentik 2025.10+)
Authentik 2025.10 breaking change
In version 2025.10, Authentik changed the default of email_verified from true to false. A verified email is required, so without this property mapping, authentication silently fails.
In Customization → Property Mappings → Create → Scope Mapping:
- Name:
RomM Email Verification - Scope name:
email - Expression:
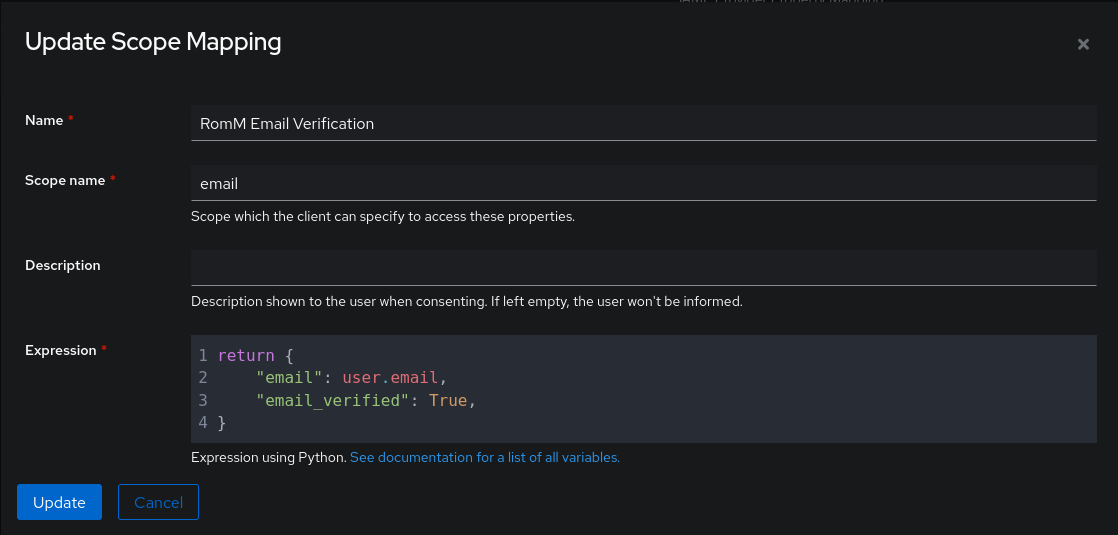
Click Create (see Authentik scope mappings upstream).
3. Create a provider
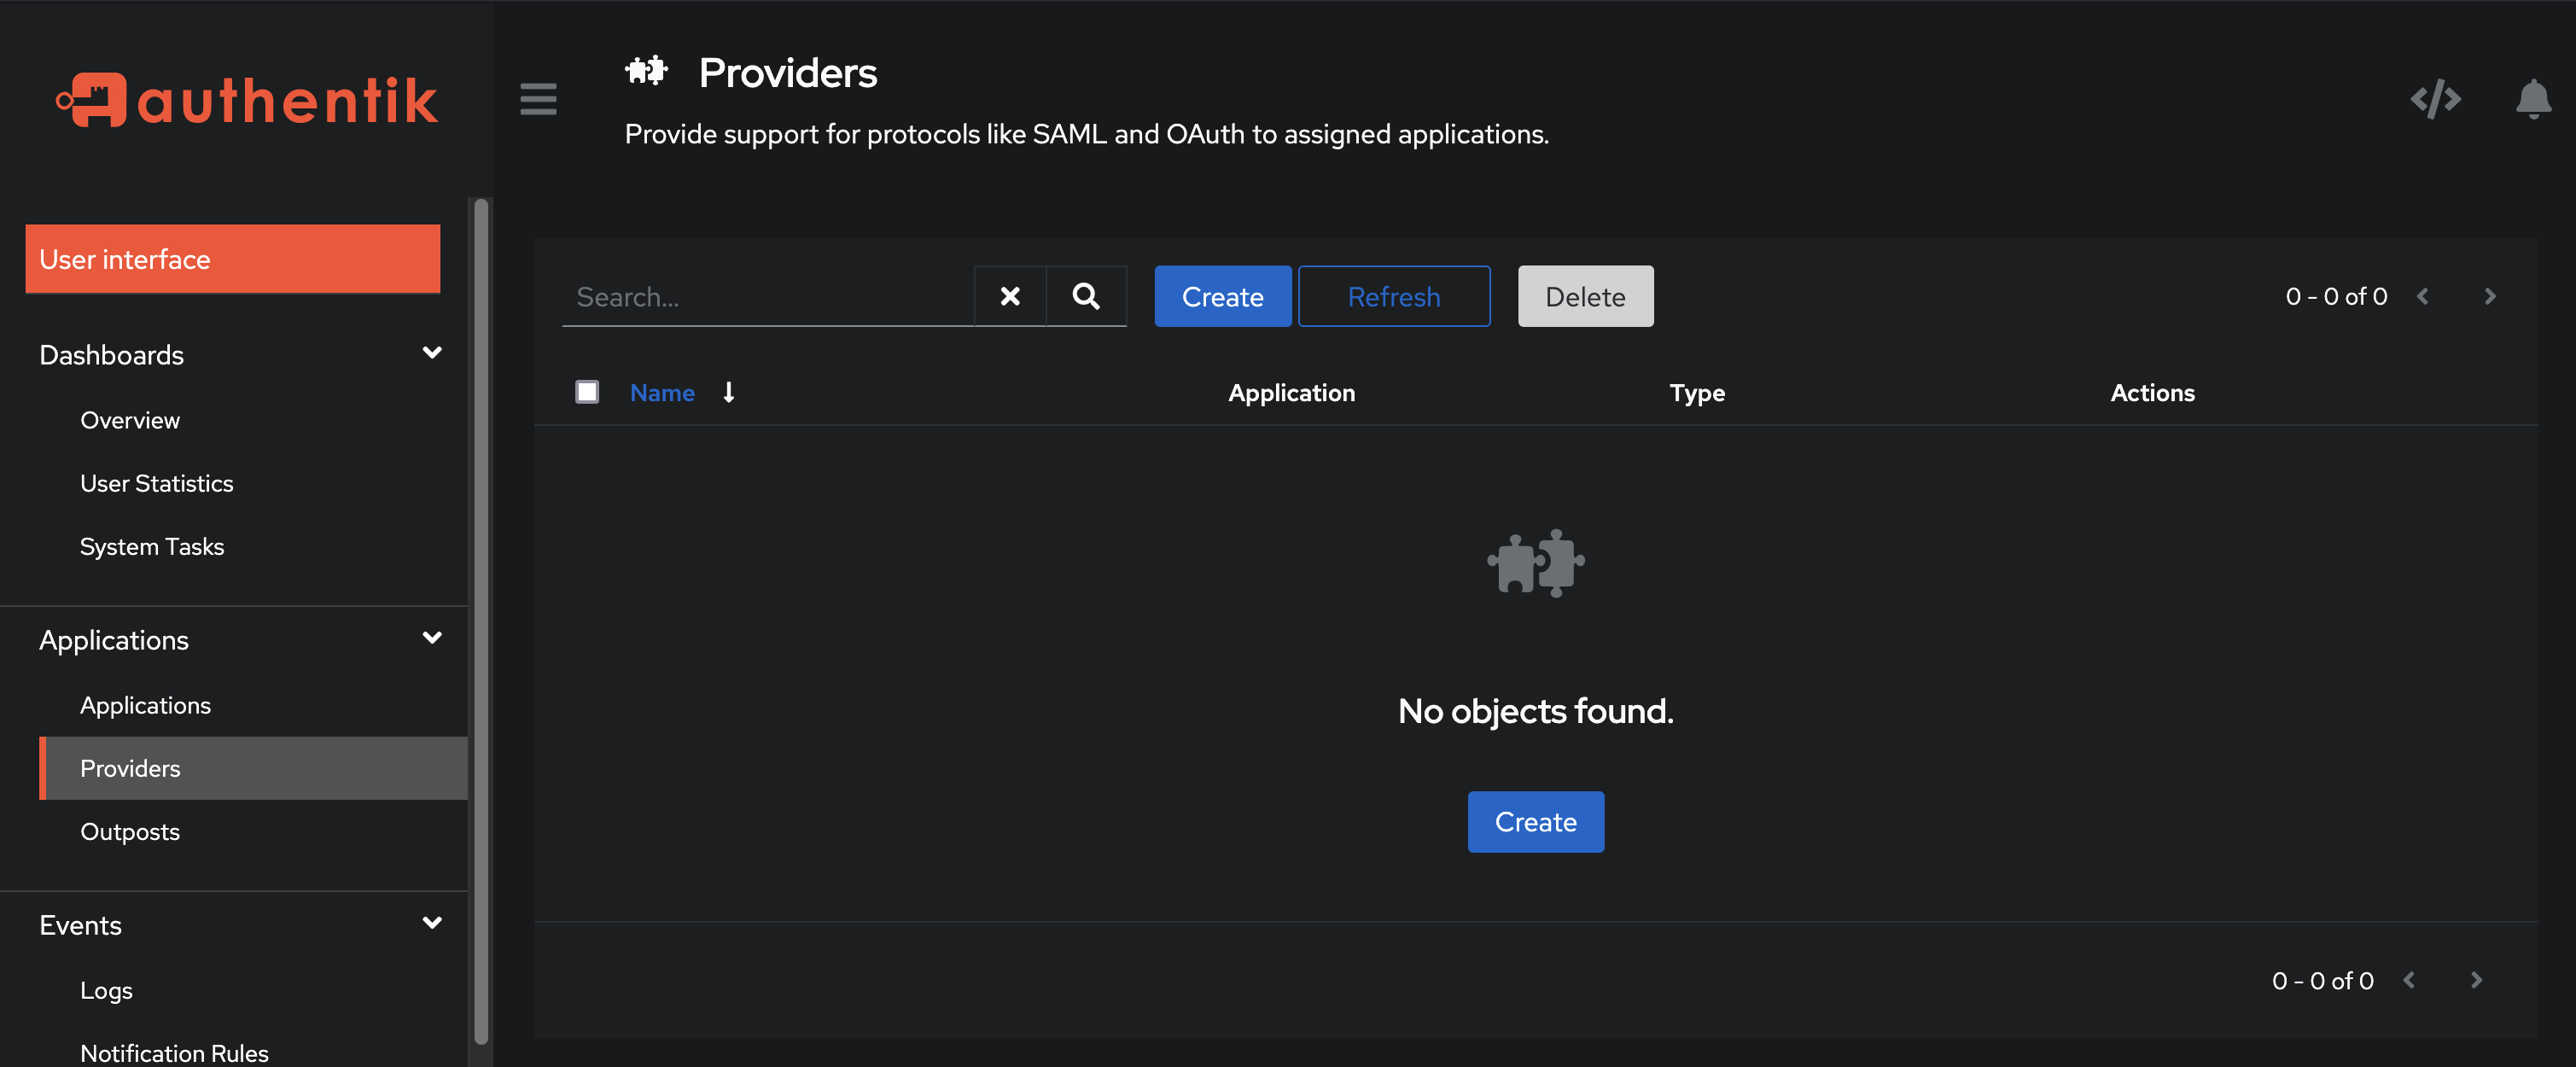
Admin → Providers → Create.
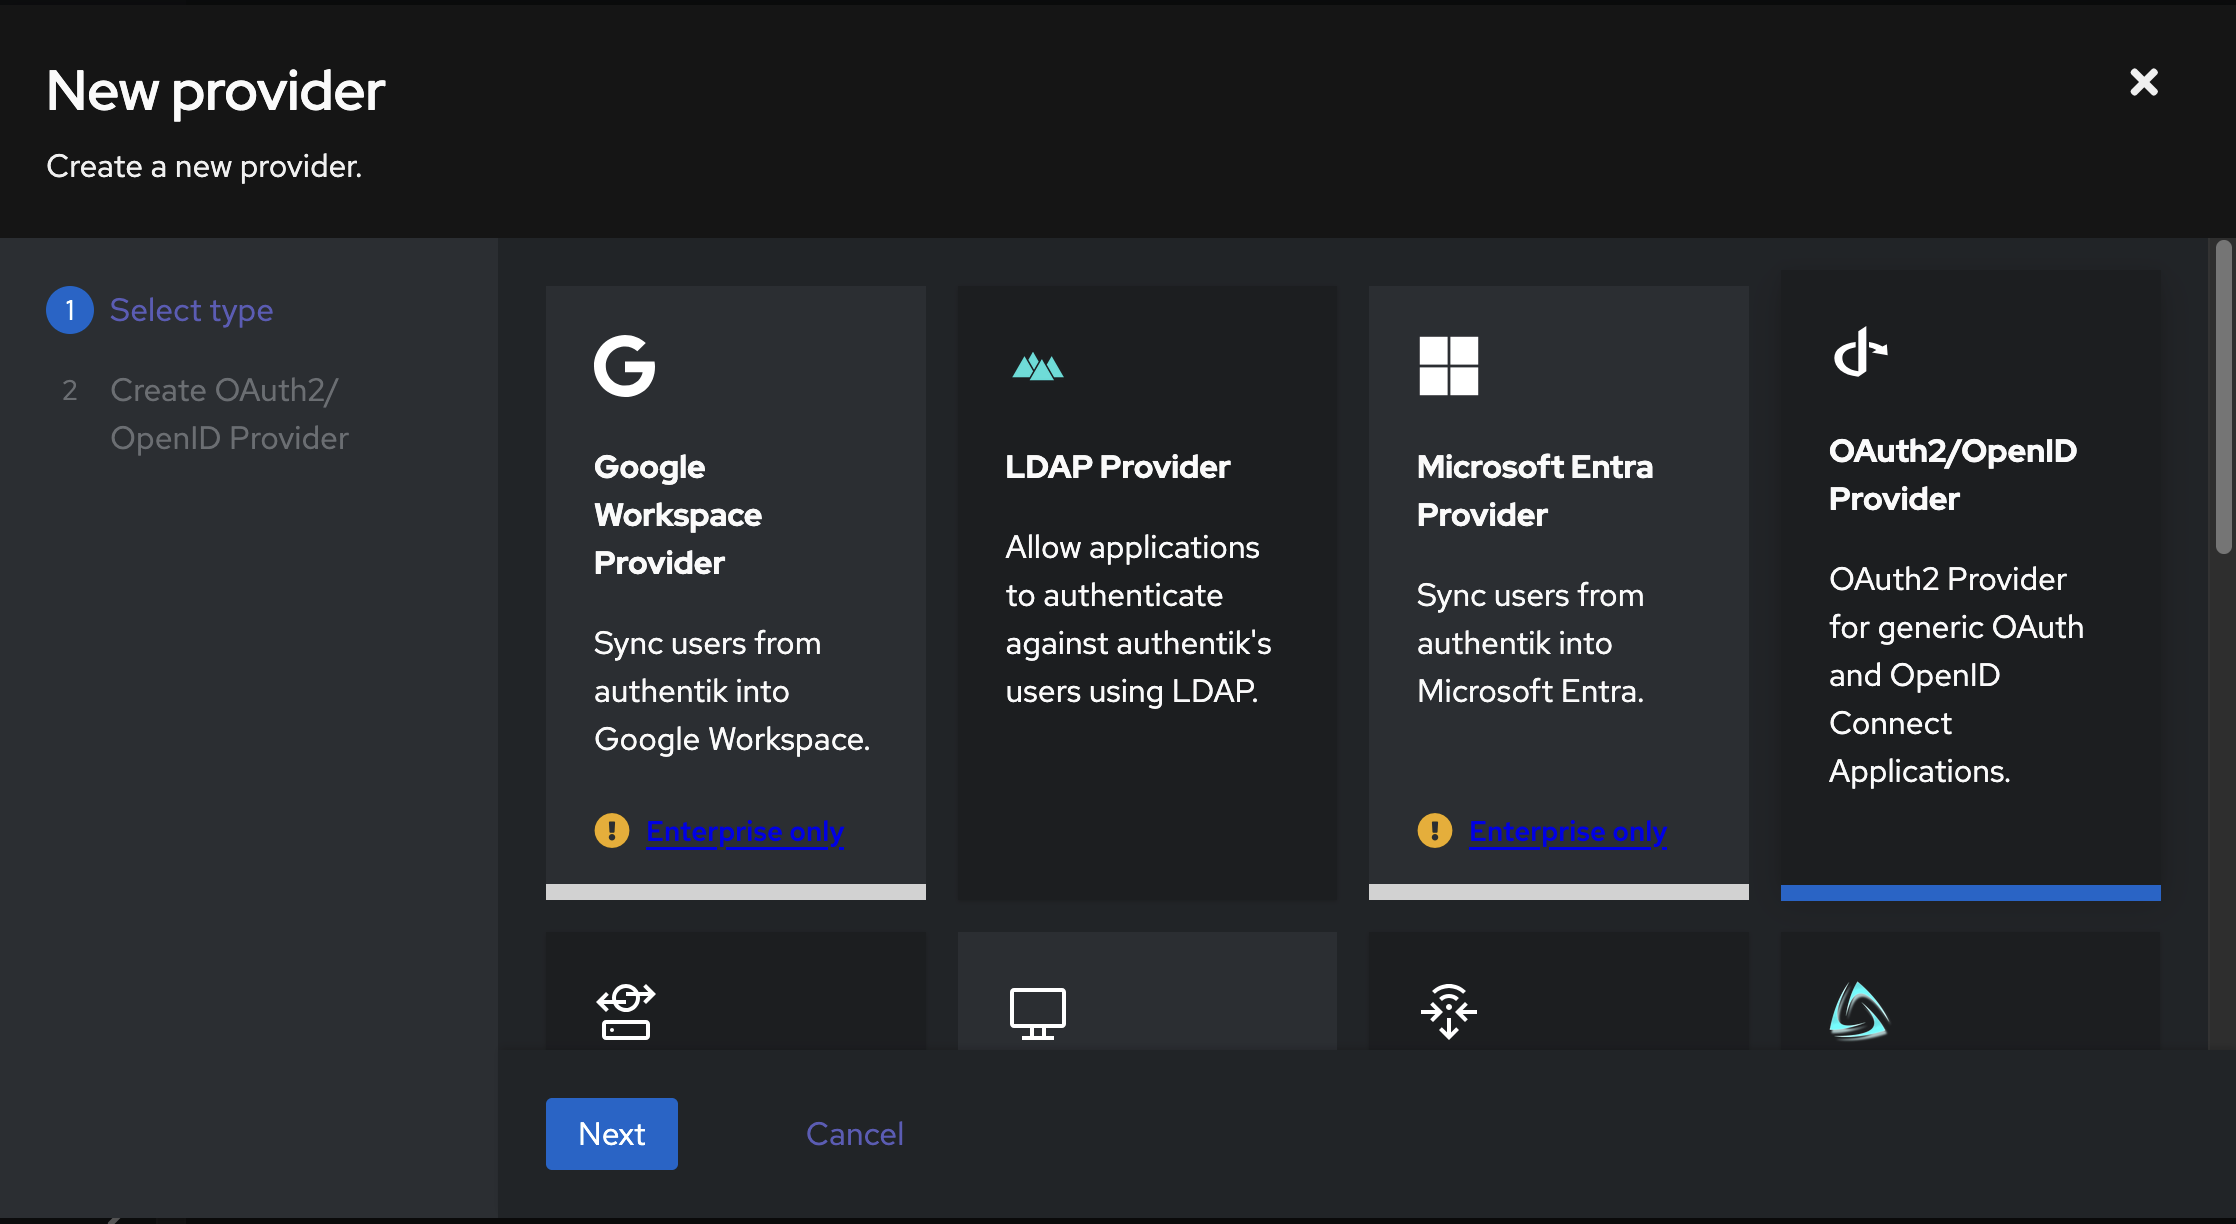
Choose OAuth2/OpenID Provider.
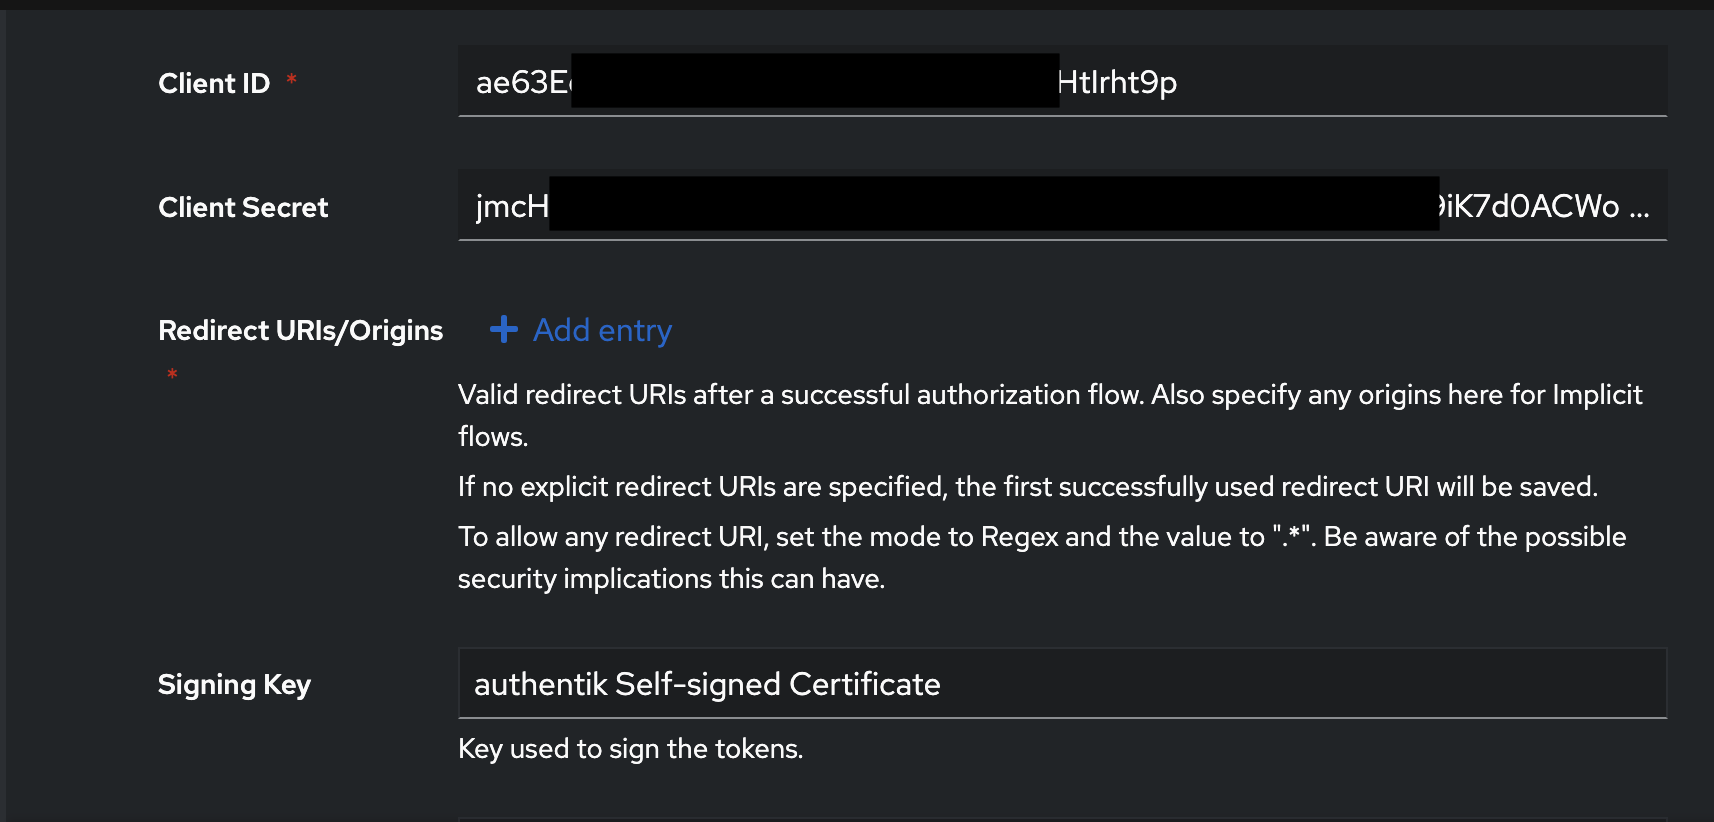
Configure:
- Name:
RomM OIDC Provider - Authorization flow: implicit consent
- Redirect URIs:
https://demo.romm.app/api/oauth/openid - Scopes: Under "Advanced protocol settings", move the property mapping you created above from "Available Scopes" to "Selected Scopes". Also disable any existing mappings of
emailoremail_verified. Authentik ships anemailmapping by default, so check for it and remove it if it's present.
Copy the generated Client ID and Client Secret. You'll use them as OIDC_CLIENT_ID/OIDC_CLIENT_SECRET on the app side.
Click Create.
4. Register the application
Admin → Applications → Create.
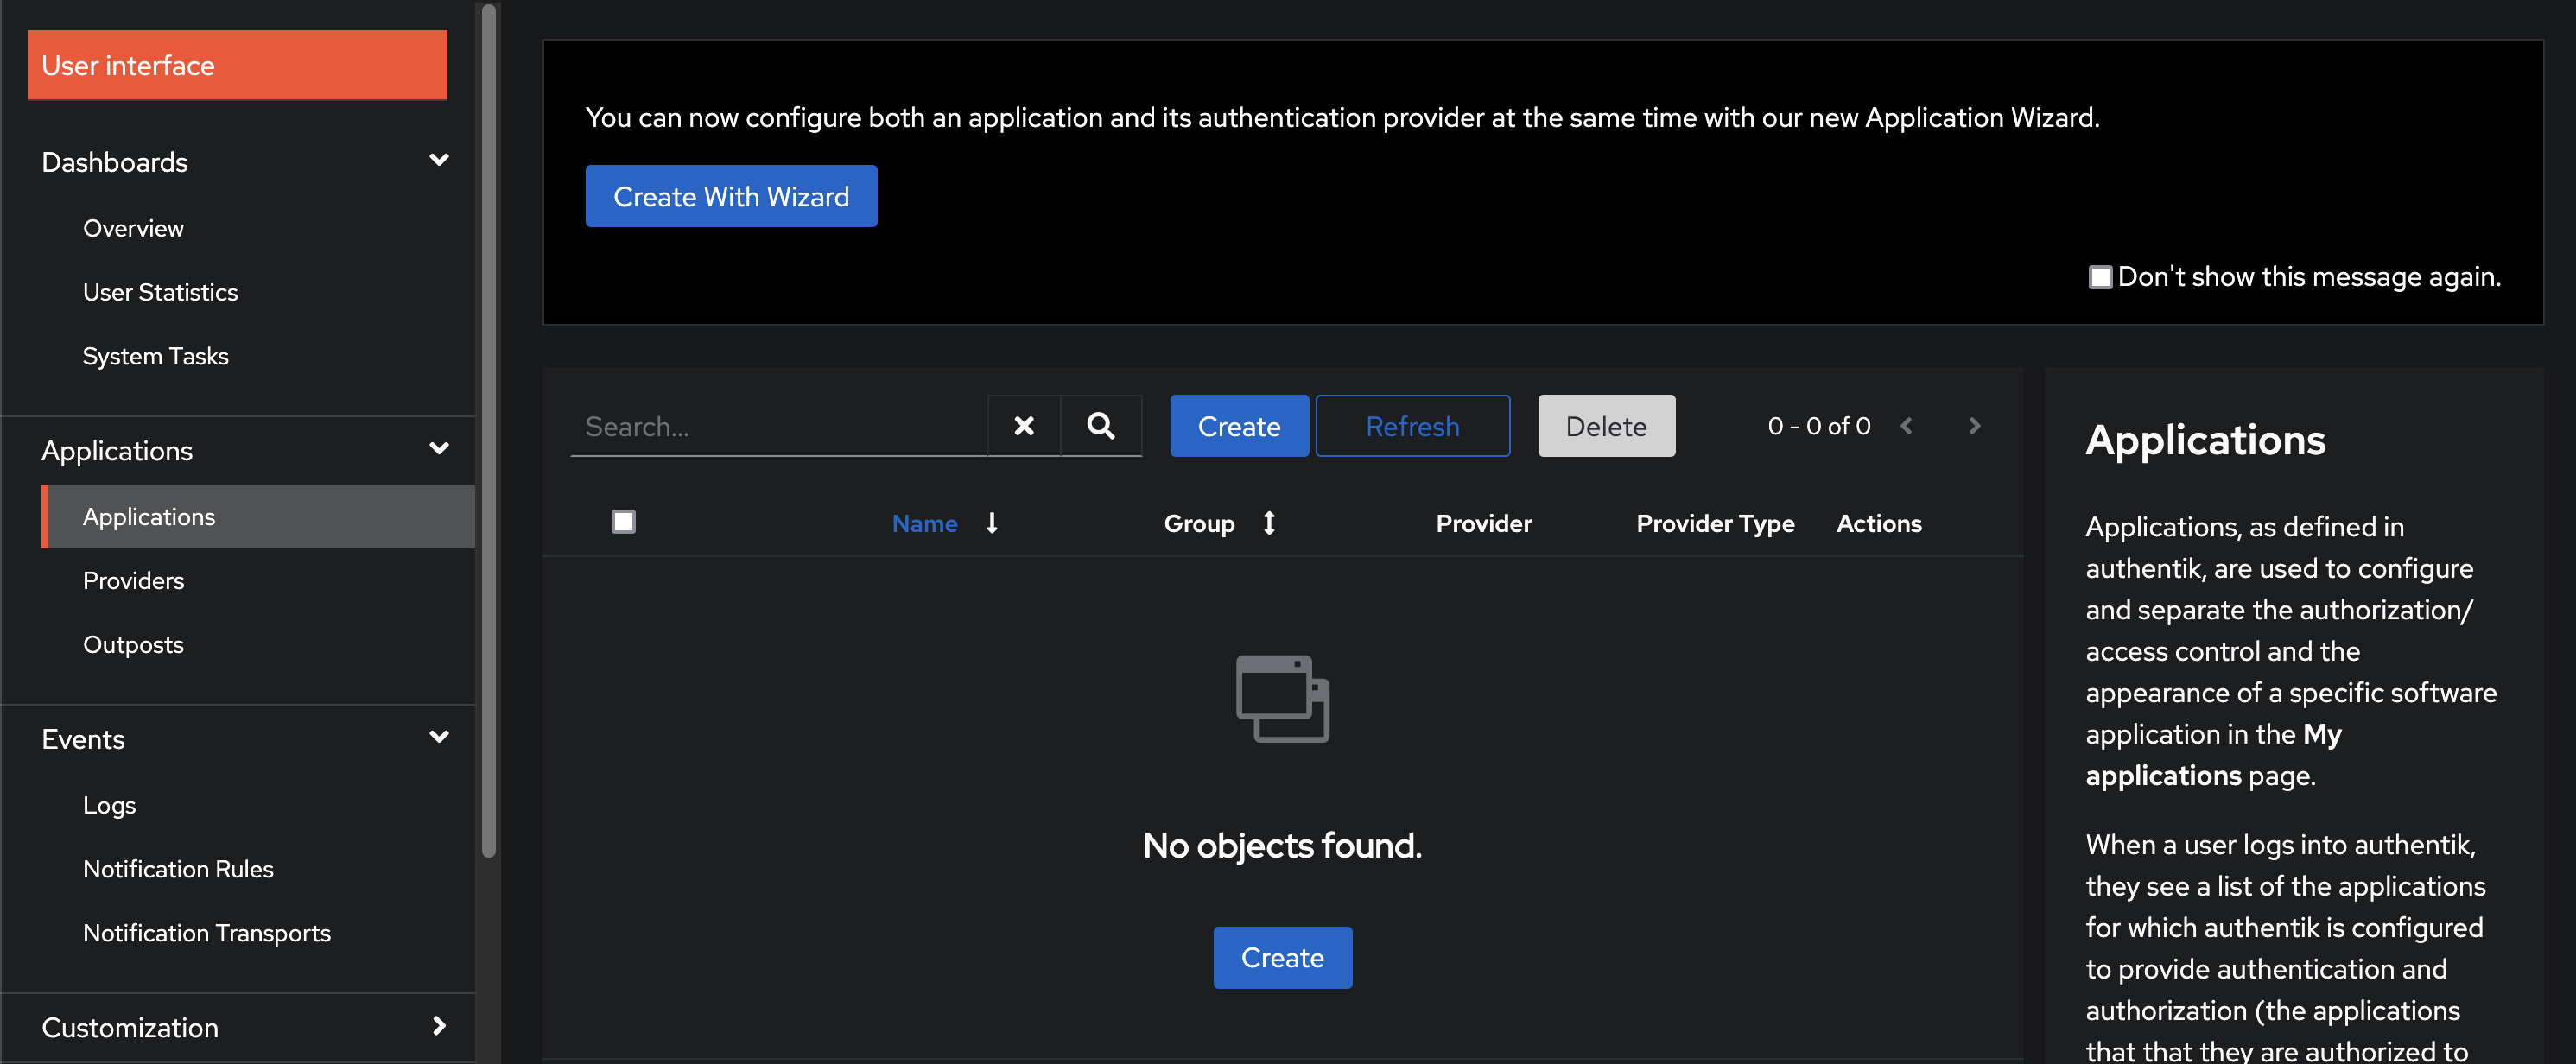
- Name:
RomM - Slug:
romm - Provider: the
RomM OIDC Provideryou just made
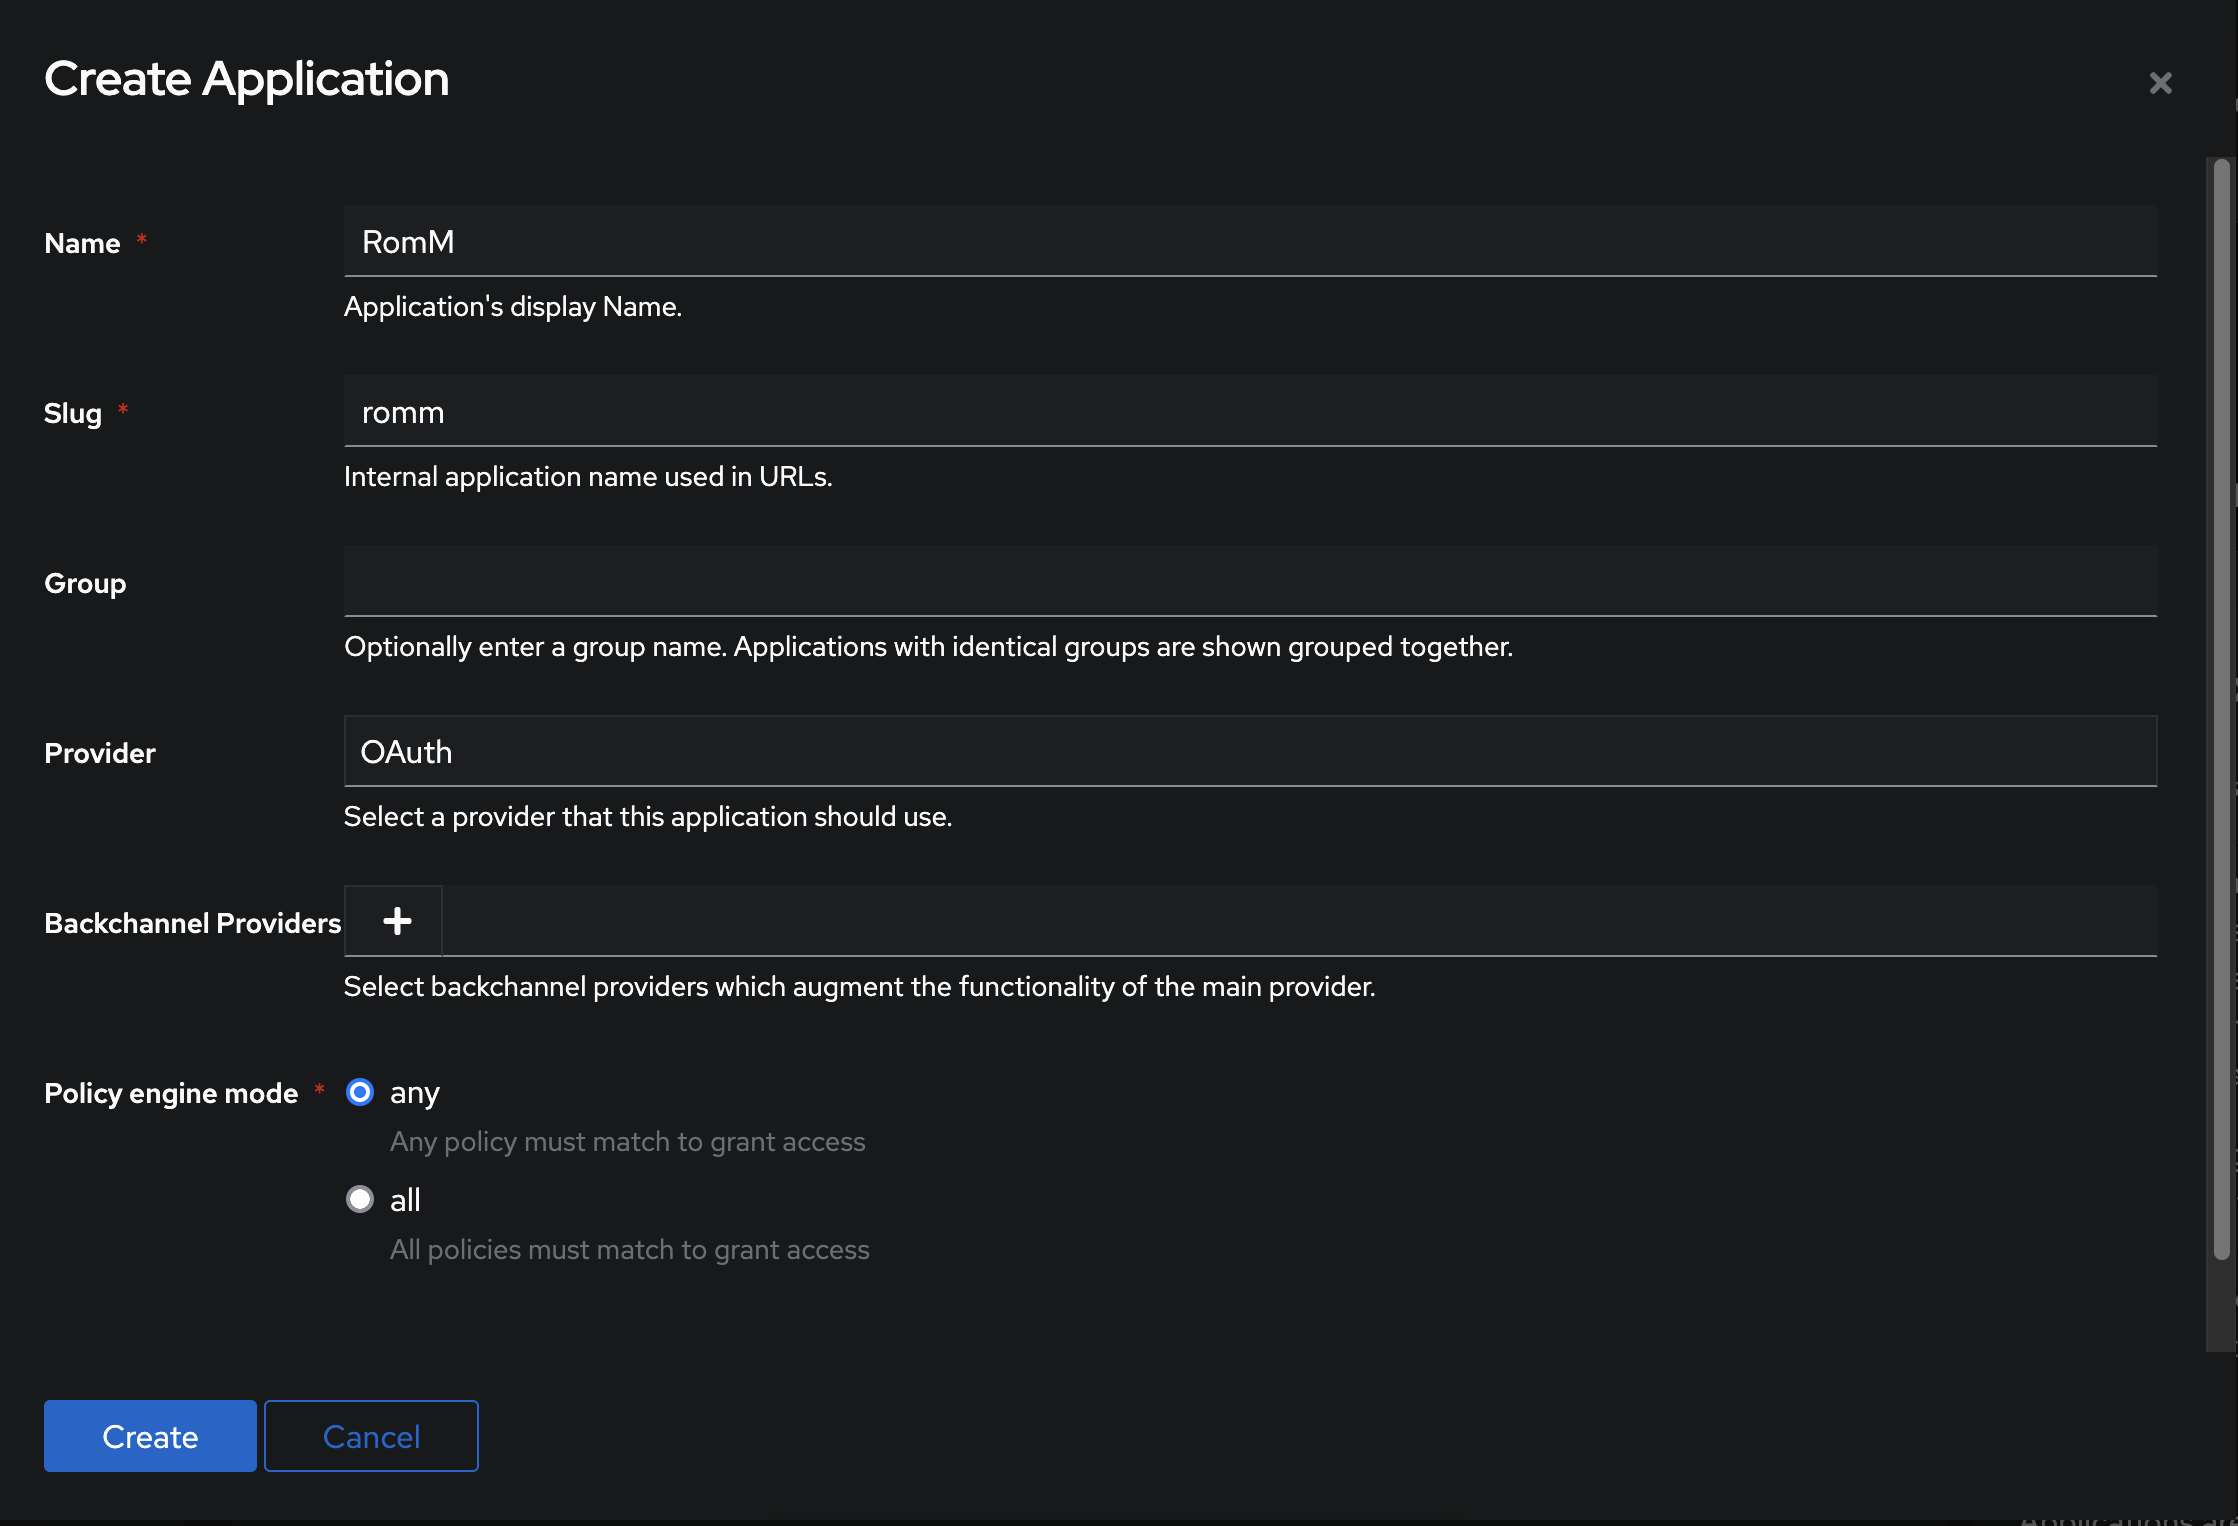
Click Create.
5. Configure
environment:
    - OIDC_ENABLED=true
    - OIDC_PROVIDER=authentik
    - OIDC_CLIENT_ID=<from Authentik>
    - OIDC_CLIENT_SECRET=<from Authentik>
    - OIDC_REDIRECT_URI=https://demo.romm.app/api/oauth/openid
    - OIDC_SERVER_APPLICATION_URL=https://auth.example.com/application/o/romm
    - ROMM_BASE_URL=https://demo.romm.app
Note that OIDC_SERVER_APPLICATION_URL points at the per-application URL (/application/o/<slug>), not the Authentik root.
For role mapping from Authentik groups, see OIDC Setup → Role mapping.
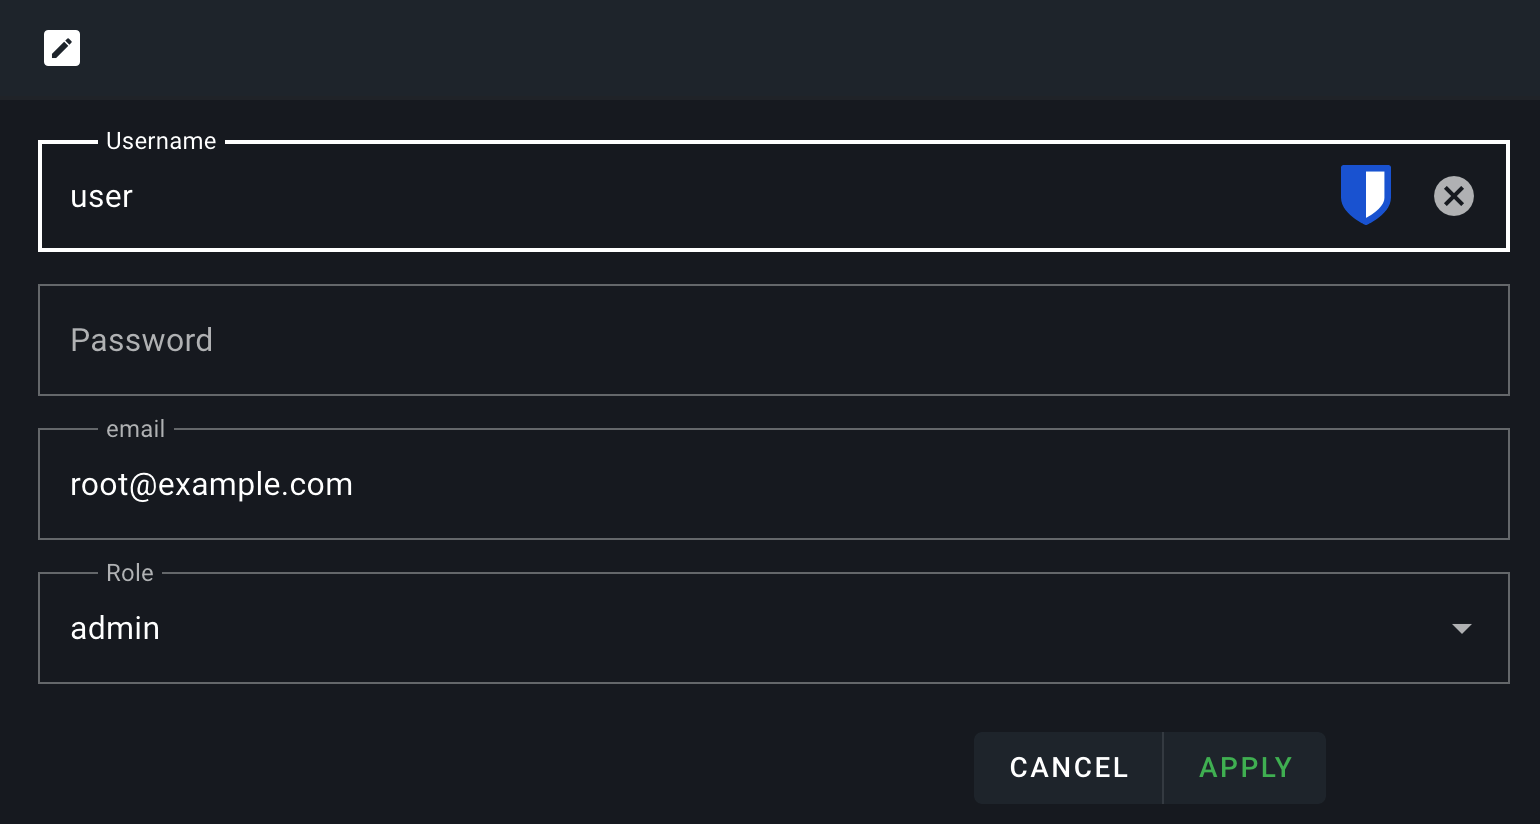
6. Set your email
In Profile, set your email to exactly the same address Authentik has for you.
7. Test
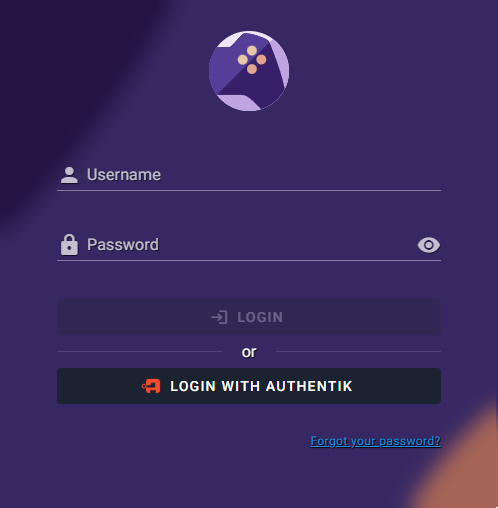
Restart, navigate to /login and click the Login with OIDC button. RomM redirects you to Authentik, and after you authenticate it sends you back signed in.
If it doesn't work, head to Authentication Troubleshooting.