OIDC with Authelia
Authelia is a lightweight open-source authentication and authorisation server with two-factor auth and SSO. Before starting, read the OIDC Setup overview, as it covers the RomM-side settings common to every provider.
1. Prerequisites
Authelia installed and running, with its OIDC provider enabled:
2. Add a claims policy
In Authelia's configuration.yml under identity_providers.oidc.claims_policies, add a policy that emits the claims RomM needs (name it whatever you like):
identity_providers:
    oidc:
        claims_policies:
            with_email:
                id_token:
                    - email
                    - email_verified
                    - groups
                    - alt_emails
                    - preferred_username
                    - name
Background on why this is needed: Authelia claims parameter restoration.
3. Register the RomM client
Under identity_providers.oidc.clients, add:
identity_providers:
    oidc:
        clients:
            - client_id: "<random>" # see note below
              client_name: "RomM"
              client_secret: "$pbkdf2-sha512$<random>" # see note below
              public: false
              authorization_policy: "two_factor" # or one_factor
              grant_types:
                  - authorization_code
              redirect_uris:
                  - "https://demo.romm.app/api/oauth/openid"
              claims_policy: "with_email" # must match the policy name above
              scopes:
                  - openid
                  - email
                  - profile
                  - groups
              userinfo_signed_response_alg: "none"
              token_endpoint_auth_method: "client_secret_basic"
To generate IDs and secrets, see Authelia's FAQ. The full client schema is available in the Authelia clients reference.
4. Configure RomM
In the romm service environment:
environment:
    - OIDC_ENABLED=true
    - OIDC_PROVIDER=authelia
    - OIDC_CLIENT_ID=<the client_id you picked>
    - OIDC_CLIENT_SECRET=<the plaintext client secret>
    - OIDC_REDIRECT_URI=https://demo.romm.app/api/oauth/openid
    - OIDC_SERVER_APPLICATION_URL=https://auth.example.com
    - ROMM_BASE_URL=https://demo.romm.app
OIDC_REDIRECT_URI must match what you put in redirect_uris exactly (scheme, host, path, no trailing slash). For role mapping from Authelia groups, see OIDC Setup → Role mapping.
5. Set your email
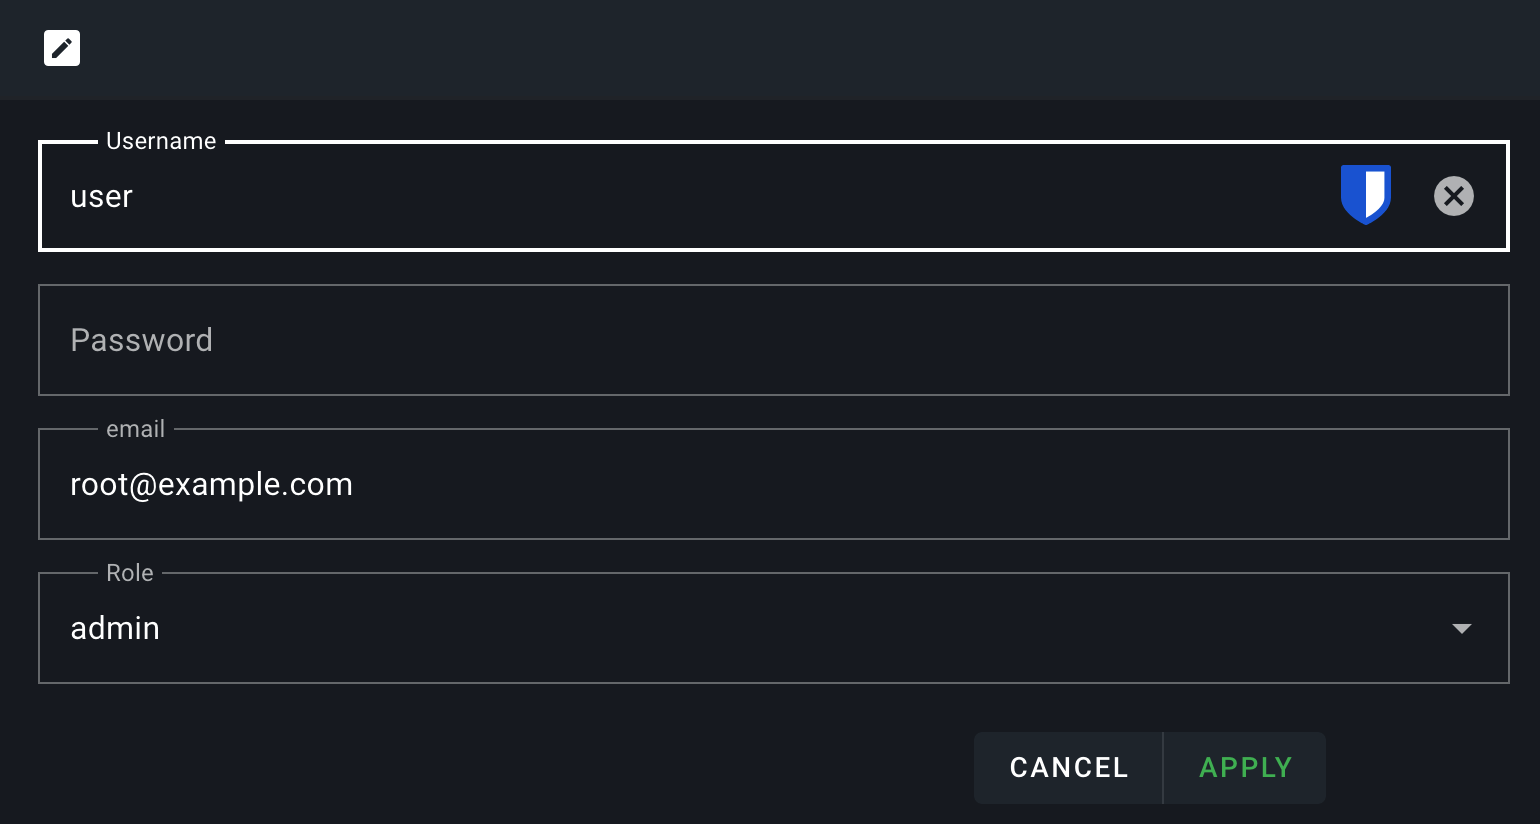
In RomM's Profile, set your email to exactly the same address Authelia has for you. RomM matches an existing account by email on its first OIDC login, then by the Authelia user it linked, so a later email change in Authelia carries over.
6. Test
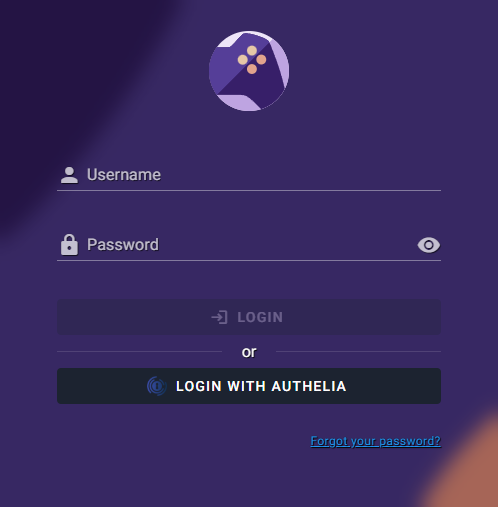
Restart, navigate to /login and click the Login with OIDC button. RomM redirects you to Authelia, and after you authenticate it sends you back signed in.
If it doesn't work, head to Authentication Troubleshooting.