OIDC with Authelia
Authelia is a lightweight open-source authentication and authorisation server with two-factor auth and SSO. Before starting, read the OIDC Setup overview, as it covers the RomM-side settings common to every provider.
1. Prerequisites
Authelia installed and running, with its OIDC provider enabled:
2. Add a claims policy
In Authelia's configuration.yml under identity_providers.oidc.claims_policies, add a policy that emits the claims RomM needs (name it whatever you like):
identity_providers:
    oidc:
        claims_policies:
            with_email:
                id_token:
                    - email
                    - email_verified
                    - groups
                    - alt_emails
                    - preferred_username
                    - name
Background on why this is needed: Authelia claims parameter restoration.
3. Register the RomM client
Under identity_providers.oidc.clients, add:
identity_providers:
    oidc:
        clients:
            - client_id: "<random>" # see note below
              client_name: "RomM"
              client_secret: "$pbkdf2-sha512$<random>" # see note below
              public: false
              authorization_policy: "two_factor" # or one_factor
              grant_types:
                  - authorization_code
              redirect_uris:
                  - "https://demo.romm.app/api/oauth/openid"
              claims_policy: "with_email" # must match the policy name above
              scopes:
                  - openid
                  - email
                  - profile
                  - groups
              userinfo_signed_response_alg: "none"
              token_endpoint_auth_method: "client_secret_basic"
To generate IDs and secrets, see Authelia's FAQ. The full client schema is available in the Authelia clients reference.
4. Configure RomM
In the romm service environment:
environment:
    - OIDC_ENABLED=true
    - OIDC_PROVIDER=authelia
    - OIDC_CLIENT_ID=<the client_id you picked>
    - OIDC_CLIENT_SECRET=<the plaintext client secret>
    - OIDC_REDIRECT_URI=https://demo.romm.app/api/oauth/openid
    - OIDC_SERVER_APPLICATION_URL=https://auth.example.com
    - ROMM_BASE_URL=https://demo.romm.app
OIDC_REDIRECT_URI must match what you put in redirect_uris exactly (scheme, host, path, no trailing slash). For role mapping from Authelia groups, see OIDC Setup → Role mapping.
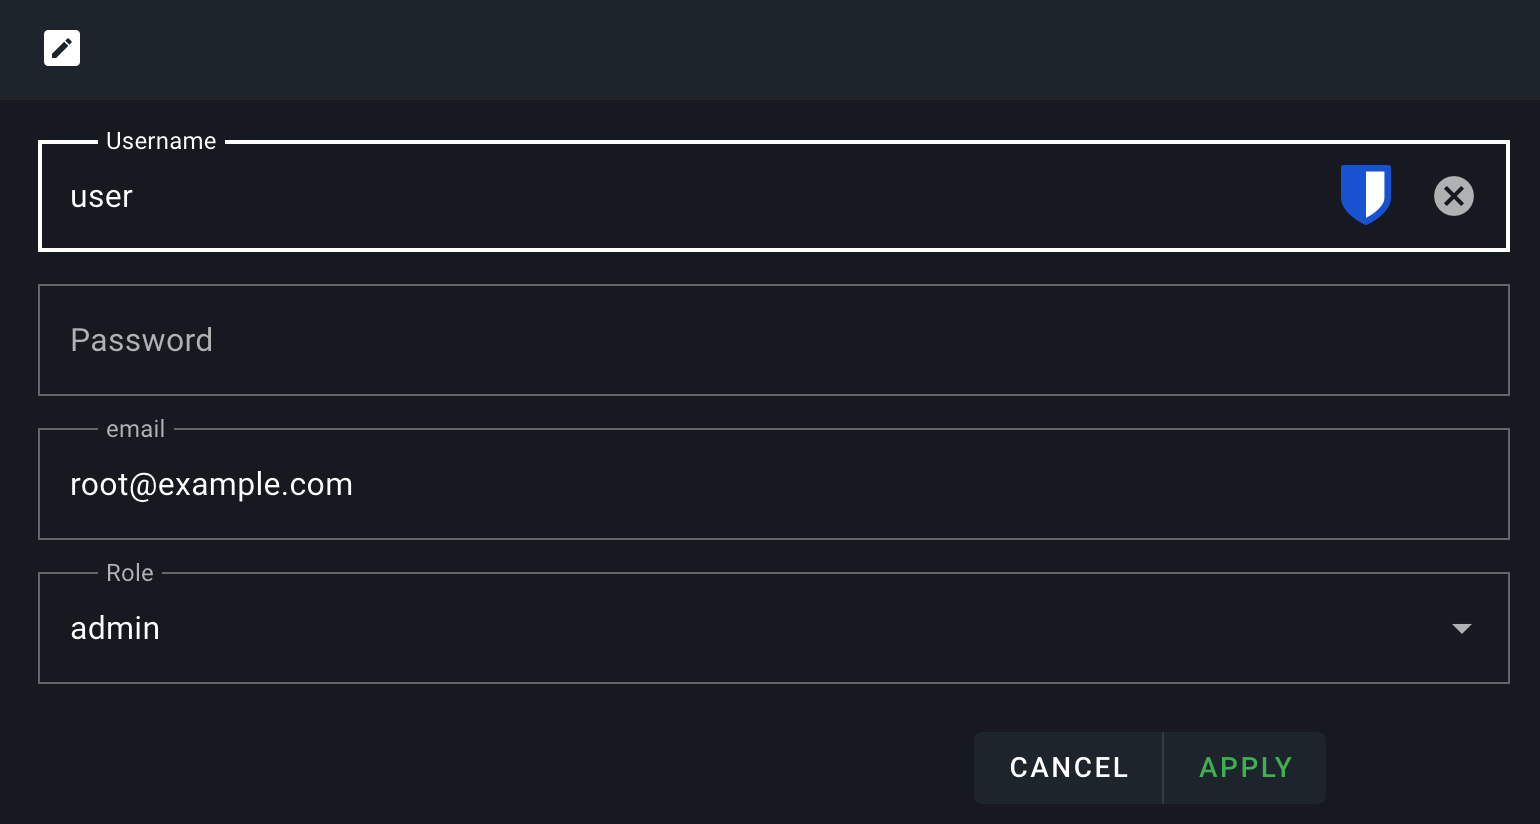
5. Set your email
In RomM → Profile → set your email to exactly the same address Authelia has for you. RomM matches OIDC users to existing accounts by email.
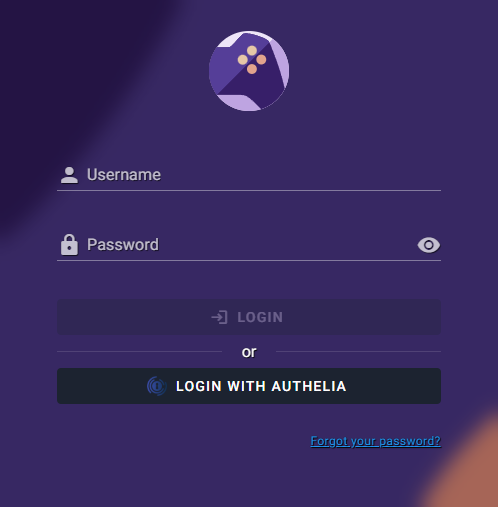
6. Test
Restart, navigate to /login and click the Login with OIDC button. You're redirected to Authelia → authenticate → bounced back and signed in!
If it doesn't work, head to Authentication Troubleshooting.